Sam
Buchanan's RV6 Getting Ready to Build |
 |
|||
The Shop
The Koala and Minimax were built in a basement area about the size of a single-car
garage (a Yugo). While this was a workable situation, it was sufficiently cramped to make
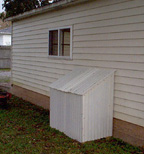
me dream of larger digs. After considerable research, I decided to have a Bullock Garage building erected in the
backyard. After knocking the concrete blocks out from under numerous junk cars, and
getting rid of the fighting cock breeding coops, the backyard was readied for the shop
building. The pre-manufactured building you see was erected on a concrete slab by the Bullock boys in 3 1/2 HOURS! They said they could have put it up faster, but they brought an extra helper and he was slowing them down. We never did learn their names, but due to his hair, we called one of them Curly. The other two naturally became known as Larry and Moe.
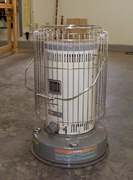
There are some items that make a shop more of a home. If you live where there is a winter, a source of heat will be necessary. In Alabama, where winter days can range from 85F to 15F, the kerosene heater is quite popular. I have a big Kerosun brand heater that will get the shop toasty on all but the coldest days. This is what I snuggle up to on those cold winter nights!!?
Update: Even though I never had any problems with the PVC air lines, I recommend builders not use PVC for handling compressed air. There have been reports of PVC pipe fracturing with serious consequences. Other options include, black iron pipe, copper, and conventional air hose.
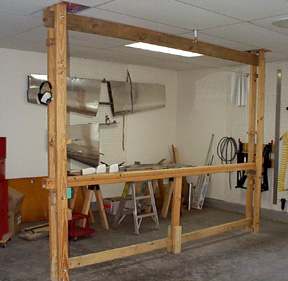
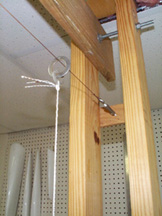
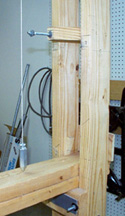
Shown above is the water trap, an unregulated outlet, the regulator, and the line going to the ceiling which services two regulated outlets over the workbench and jig. Next to the outlet is the power switch for the compressor. The RV construction manual has drawings for jigs necessary for various process. I inherited an "experienced" jig which has already served on the work detail for an RV6A and the tail of an RV6A QB.
You can never have too much bench space. A table was built from 2x4's and a sheet of
5/8" ply which serves as the main workbench. The shop has another 4x8 bench and also
a couple of hollow-core doors that can be put across sawhorses for more stable, uh, table
space. This bench also has the dimpling table built into it.
Odds 'n Ends
Let's start building the tail feathers Back to "The RV Journal" front page
Please submit all questions and comments to sbuc@hiwaay.net
|
Getting Ready to Build Building the Tail Building the Wings
|
|

