Fuel Tank Construction Log, page 1
![]()
3/5/98; 4.5 hrs; drilled right tank ribs to rear baffle; made wood shims, and jigged ribs/baffle to spar; strapped skin and drilled to ribs.
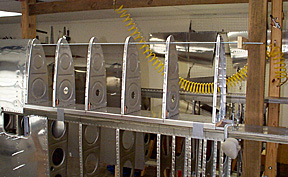
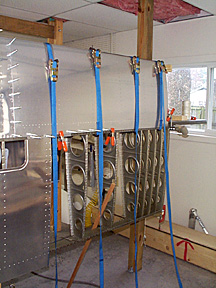
This step involved most of the work session; Much effort was expended getting the edges to line up correctly.
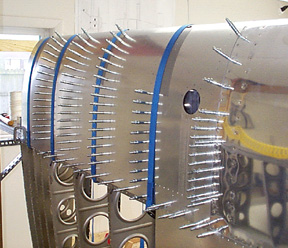
You will need about 300 clecoes to drill one tank.
3/7/98; 2.25 hrs; fabricated and drilled stiffeners to right tank skin; dimpled stiffeners and ribs.
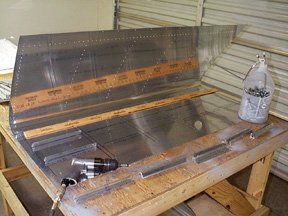
3/8/98; 1.25; drilled left tank ribs to rear baffle; jigged with threaded rod and mounted on spar.
3/9/98; 2.0 hrs; drilled left tank skin to ribs.
3/10/98; 2.25 hrs; drilled and dimpled left tank stiffeners; dimpled both tank skins.
3/13/98; 3.5 hrs; fabricated tank front supports and drilled to tanks; fitted and drilled nose reinforcements; mounted right tank on wing and drilled pilot holes for platenuts.
3/17/98; 1.5 hrs; drilled mounting holes for platenuts for right tank.
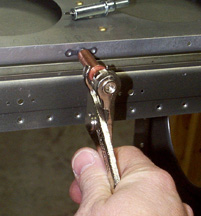
Here is an easy method for accurately locating the holes for the platenuts.
The pilot holes were drilled to #30. A platenut was clecoed to the pilot hole.
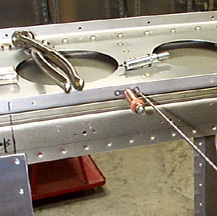
A #40 hole was drilled for one of the AN426 rivets.
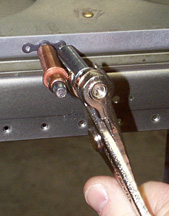
The #40 rivet hole gets a cleco.
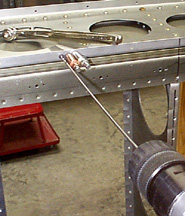
Now the other rivet hole is drilled.
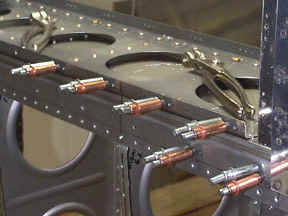
You can save time by lining up several platenuts and doing one particular operation at a time.
After all holes are drilled, the tank is put back into position and the screw holes are match-drilled to #19.
Just in case you may have forgotten to drill some of the platenut mounting holes before you drilled the pilot holes to #19 and are therefore unable to cleco the platenuts to the flange (no need to ask why I needed this tip...), there is still a way you can easily locate the rivet holes.
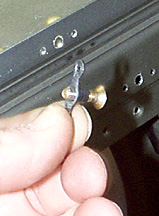
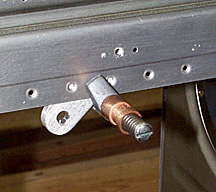
Run a screw backwards through a platenut as shown.
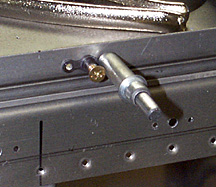
Place the screw in the #19 hole and use the platenut as a drilling template.
3/18/98; 2.25 hrs; completed installing platenuts and countersinking for right tank. Right tank now ready for sealing.
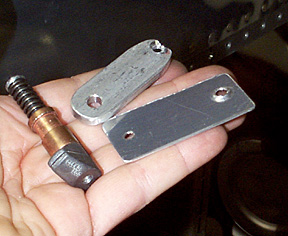
Here are some gadgets that will facilitate the countersinking process for the platenuts. At top is a scrap piece of stock with a pilot hole for the countersink bit. On the right is another scrap with a #8 dimple formed in the end. A cleco clamp also is handy.
The dimple serves as a go/no go gauge to determine when the countersinks are properly formed.
Clamp the scrap with the pilot hole behind the hole in the spar flange that will be countersunk. This will serve as a guide for the countersink pilot and minimize chatter due to the countersink wandering in the hole.
3/21/98; 2.0 hrs; completed installing platenuts for left tank. Left tank now ready for sealing.
![]()
Forward to Fuel Tank Construction Log, page 2