Page One
Page Two
Page Three
Page Four
1/26/99; 6.0 hrs; assembled left, right, and rear walls of baffle.
I had to trim the valve cover cutouts slightly to get the sides to fit
properly. The nose is trimmed only enough at this point to get the sides to fit inot the
cowl.
Yep, it takes a bit of head-scratchin' to figger out the drawings that
come with the baffle kit. I finally decided to just follow the sequence in the
instructions and decipher it out as I went. Mistakes should be pretty easy to fix...
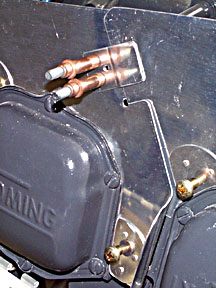
Detail of the retainer clip and "laced" edges on the left side
of engine. The clip is easily joggled with seaming pliers.
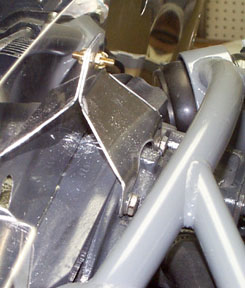
Detail of support at rear center of engine.
1/27/99; 2.5 hrs; fabricated and installed left front baffle floor.
1/28/99; 3.0 hrs; fabricated and installed right front baffle floor; began
installation of front baffle bulkheads.
2/1/99; 4.5 hrs; installed front bulkheads; trimmed baffles for proper
cowl clearance.
The baffles require a lot of fitting and trimming. My installation is for
a 320-E2D; Your milage may vary.
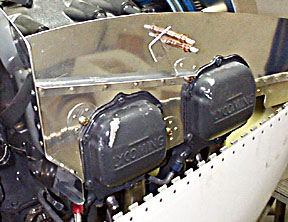
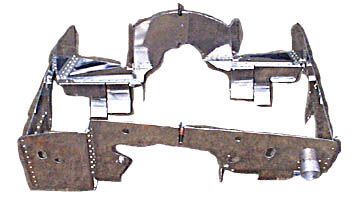
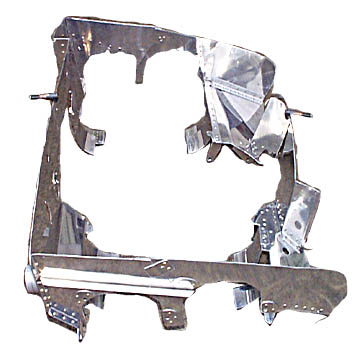
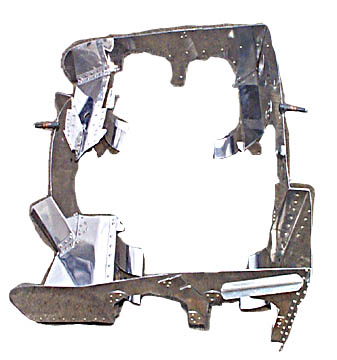
Here are some detail shots of the often confusing baffle system:
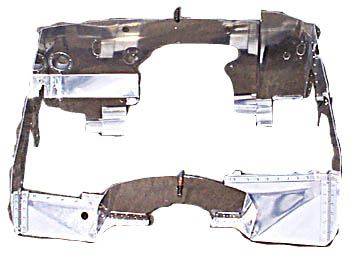
From the prop, looking toward rear of da plane...
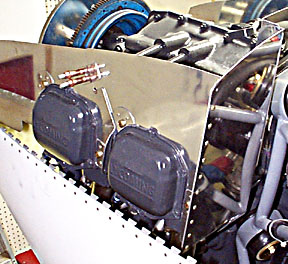
And from the rear of the baffles looking forward...
Looking at right side toward left side of the plane...
And the left side, looking toward the right.
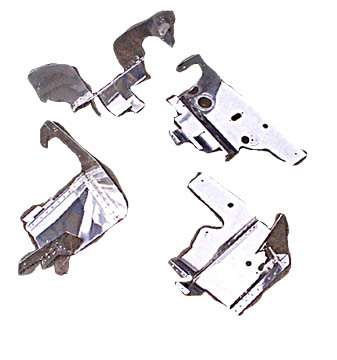
Beginning at top (clockwise): right front, right rear, left rear, left
front.
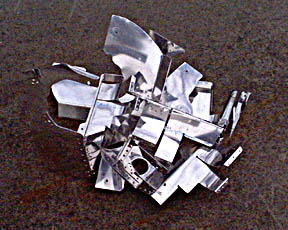
This is how your brain feels after assembling the baffles...
2/2/99; 2.5 hrs; completed fabrication of baffles and primed for
appearance sake; ready for reassembly and airseal fabric installation.
2/3/99; 2.0 hrs; installed SCAT tubing for cabin heat and oil cooler;
fiddled with mag harnesses.

2/4/99; 4.5 hrs; finished mag harness installation; installed return
spring on mixture control arm; installed blast tubes; began airseal fabric installation.
Forward to Firewall Forward, page four
Back to Firewall Forward, page two
Back to Finish Kit
Back to RV6 Home Page
Please submit all questions and comments to sbuc@hiwaay.net
|

