Wing Assembly Log, page 2
![]()
2/20/98; 3.5 hrs; set up second wing jig; lots of head scratching, measuring, eyeballing, headscratching, more measuring and eyeballing, all to assure that ribs will be located so they line up with prepunched skins. Skins were temporarily clamped to skeletons and verified that prepunched holes lined up with dimensions on plans. The skins were used as patterns to mark lines on the spars to indicate centerlines of ribs. Each rib was marked with its station number and whether for right or left wing. A hole for PVC wiring conduit was drilled in each rib. One of the ribs was designated as a template for flange hole spacing. All ribs were drilled per the pattern rib (except a few of the ribs which needed match-drilling to the rear spar. Confused? Ask for more details if you need them. I found this to be one of the more mentally challenging parts of the project so far. I just hate it when I drill a skin and there are no ribs behind the holes......
2/21/98; 6.0 hrs; finished jigging both wings; all spars clamped and plumbed; installed root and tip ribs; ready for the fun and games!

2/22/98; 5.75 hrs; attaching ribs to spars.
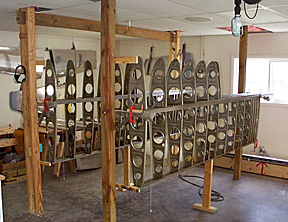
2/23/98; 6.0 hrs; completed drilling all ribs and angles to spars; hung skins on skeletons.
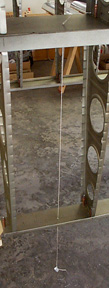
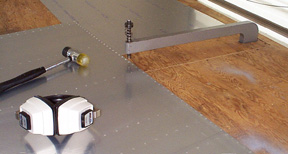
Plumb line set up on each end of each spar to check trueness of wing platform.
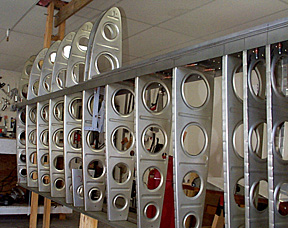
Love dem ribs!!
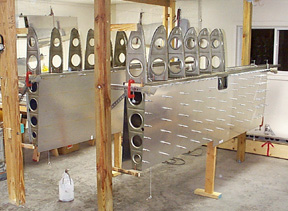
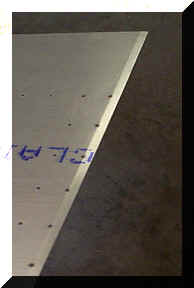
Skins are ready for final drilling to skeletons.
2/24/98; 2.5 hrs; completed drilling main skins to wings.
2/25/98; 2.5 hrs; dimpled ribs and spars on bottom of right wing; attaching ribs to rear spar of right wing.
Note: Be sure you think ahead as to the sequence of installing the ribs under the wing-walk area. It is possible to paint yourself into a corner and have a TOUGH time getting all the ribs in place (don't ask how I know this...).
2/26/98; 3.5 hrs; completed attaching ribs of right wing to rear spar; dimpled and clecoed right bottom skin to skeleton; ready to rivet right bottom skin.
Dimpling table really makes dimpling the large skins much easier and faster. Highly recommended! RV8 builder Rod Woodard came up with a portable version of the dimpling table in case you don't want to modify your workbench.
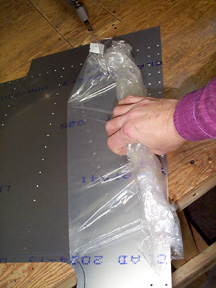
Having trouble getting the plastic sheet off the skins? My technique involves rolling the sheet back over itself (sticky side in) to form a handle. Now you can apply lots of grunt to peel the sheet off the skin without the plastic tearing. Also keeps the discarded sheet from sticking to everything in the trashcan. Just make sure you don't pull hard enough to kink the skin!
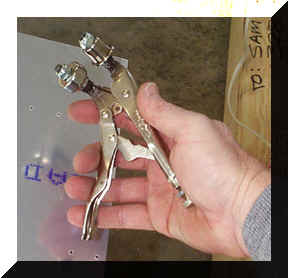
This has to be the slickest tool yet for forming the edges of skins. Adapted from a pair of vice-grips, it makes beautifully consistant bevels on the edges.
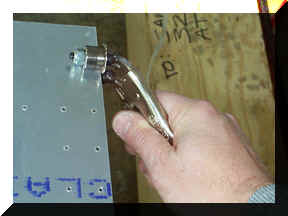
Adjust the tool for a light clamping pressure, and pull along the edge of the skin.
The bevel formed is not as apparent as in this photo (highly advanced and secret photo techniques used to show bevel on edge of skin.......).
Ok, wanna know where to get the tool? Check out Cleaveland Tools catalog and look for tool number EF60, Edge Former. Tell 'em the "RV Journal" sent ya!
For a more in-depth look at this tool, check our product review.
![]()
Forward to Wing Construction Log, page 3