New Solardome
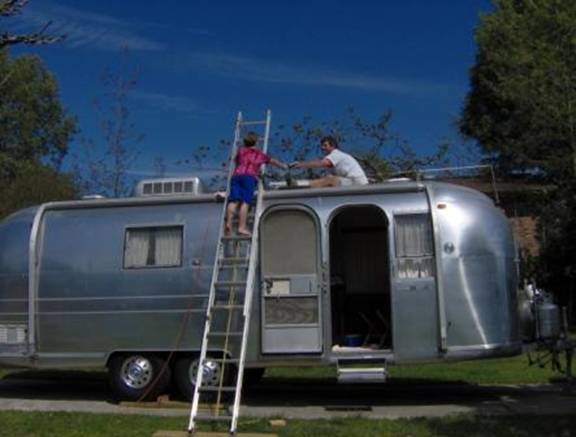
Number 1 son
is a great help
It’s
Springtime here in
Although
the Overlander is still winterized, one or both of the Boyz & I sleep out
there on the weekends, and the night following the hail had “Airstream” written
all over it. Although some of the videos
the Boyz choose to watch are not exactly my cup of tea, I looked forward to roughin’ it with my preschoolers in our backyard that
evening. That is until I opened the door
and found the floor soaked with water.
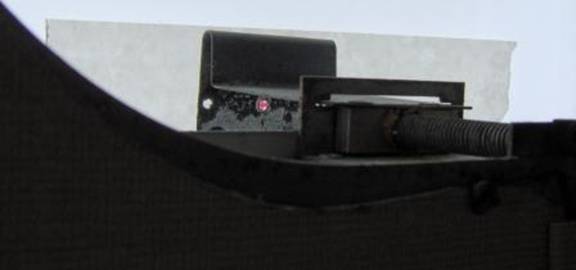
The hail had punched holes in both my original Solardome and rooftop
refrigerator vent cover.
Fortunately,
nothing in the trailer appeared water-damaged, and since no more storms were
predicted, we just mopped up the mess and made a night out of it anyway. I called InlandRV Monday
morning, and ordered a new solardome. The
lady I talked to there in
Although
Supply & Demand dictated that the price for the new solardome was going to
be high, I was extremely impressed at how much effort went into the thought
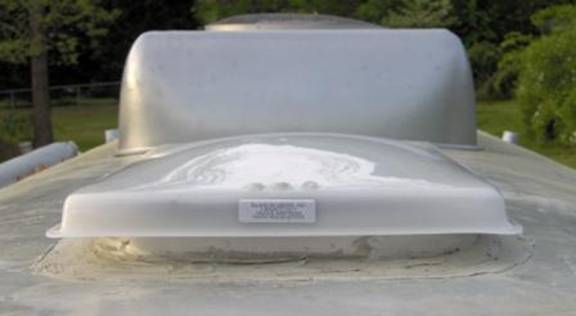
& construction of the new part. My
original solardome was a single, injection-molded piece of plastic which had
sagged in the middle allowing water to puddle.
Andy’s replacement part was almost twice the weight due to what appeared
to be a separate, domed piece seamlessly welded on to an otherwise flat
cover. This new solardome looks like it
was built to stand the test of time.
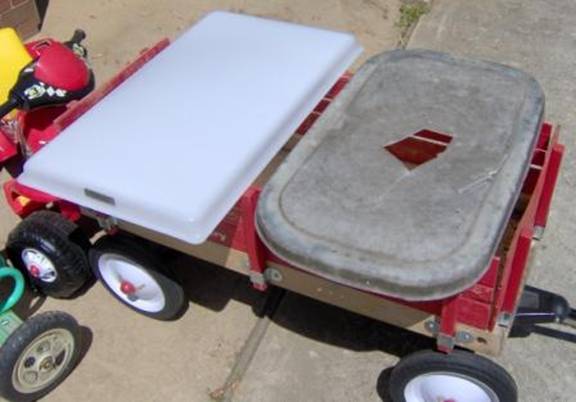
While
the corners of InlandRV’s solardome are not rounded
like the original, the overall dimensions are the same. My original solardome
was attached to its two mounting brackets by six bucked rivets. Deciding to pop-rivet the new solardome on,
its centerline was located:
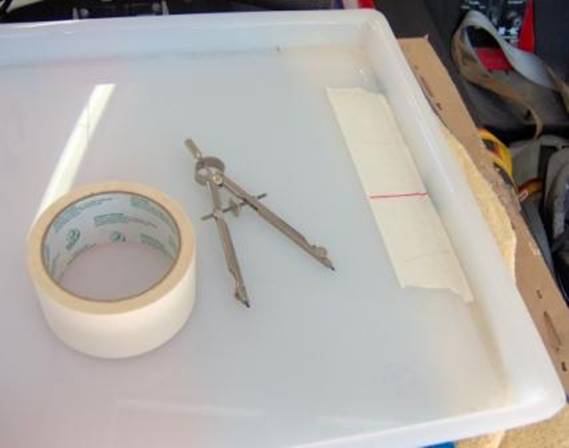
After loosely positioning the new solardome in place,
a red Sharpie was used inside the Overlander to mark the rivet holes:
Much
thought was given to whether to drill through-holes (through both layers of
plastic) or to drill only the piece of plastic closest to the mounting bracket,
and rivet from the bottom instead of the top.
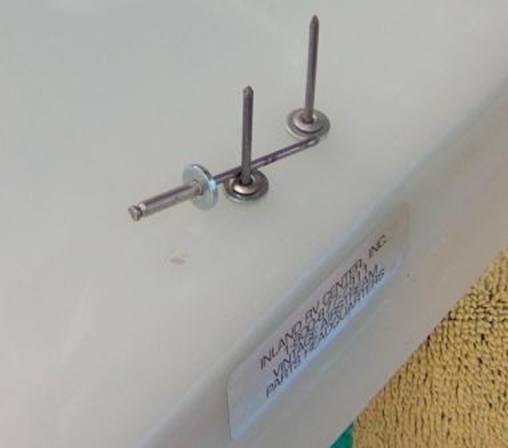
Ultimately, though-holes were considered best. Backing washers were used on the rivet heads
to keep from breaking the plastic. The
rivets were coated before & after installation with clear RTV. If I had had some clear Parbond
around, I would have used that. But RTV
should be adequate
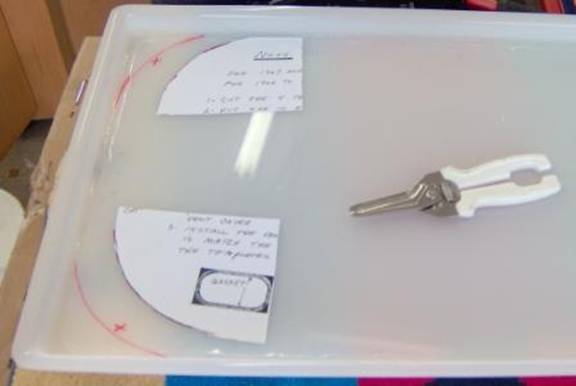
Andy
was kind enough to include a template for mounting the new [included] weatherstripping.
The lines were drawn now since it appeared to be better to install the
gasket after the new solardome was riveted in place.

I’m easy to identify on the road now – Just look for
the free advertising I’m giving Andy!