TDay2, 91SS Buildup: Vortech
supercharger and SLP exhaust installation.
Vortech
Supercharger V-2 SQ S-Trim (polished) part # V4GC218-098SQ
--Purchased from http:\\www.superchargersonline.com for $3649 including shipping.
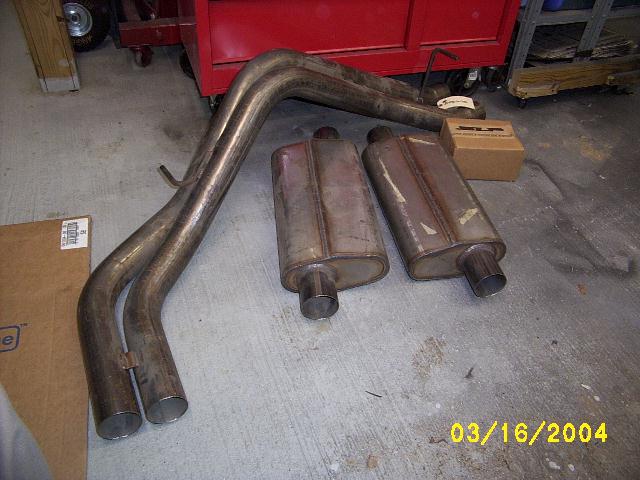
SLP 3”
cat back stainless steel exhaust part # 31122. --Purchased from SLP on sale for $199.
|
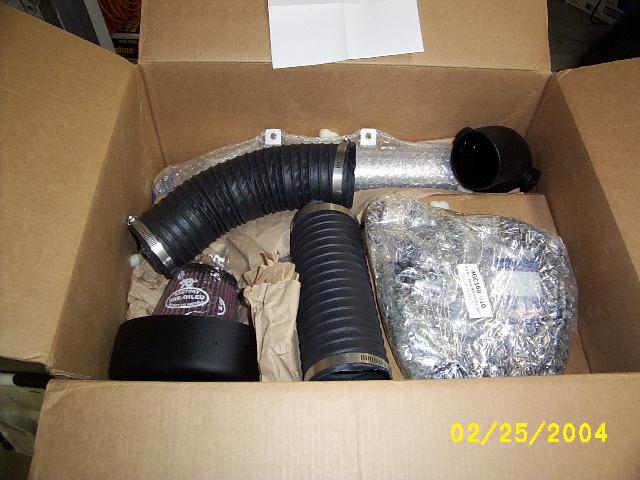
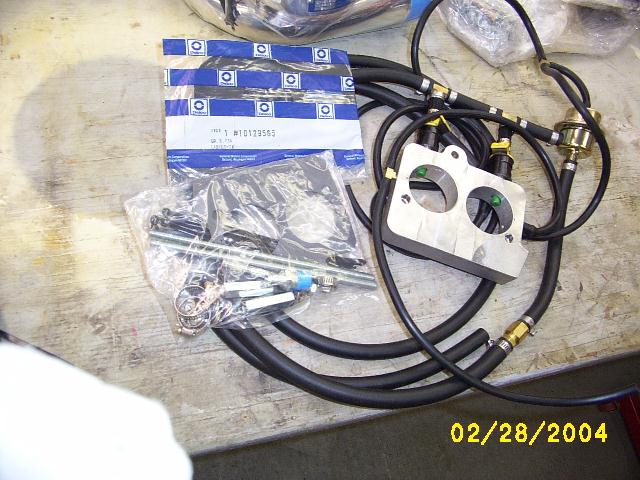
The Vortech kit as it appeared in the box –1. |
|
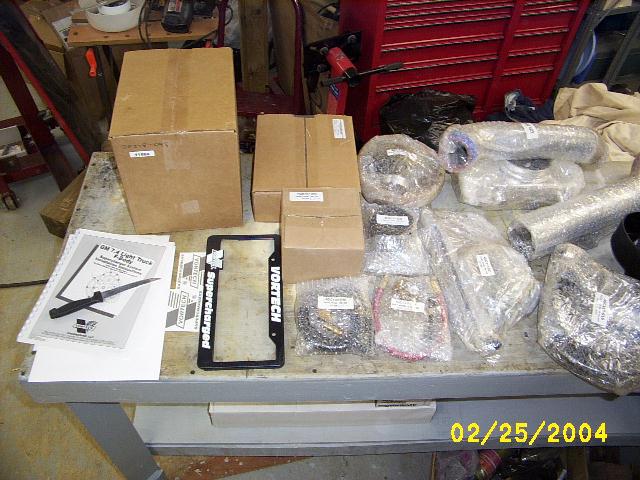
Vortech kit -2 |
|
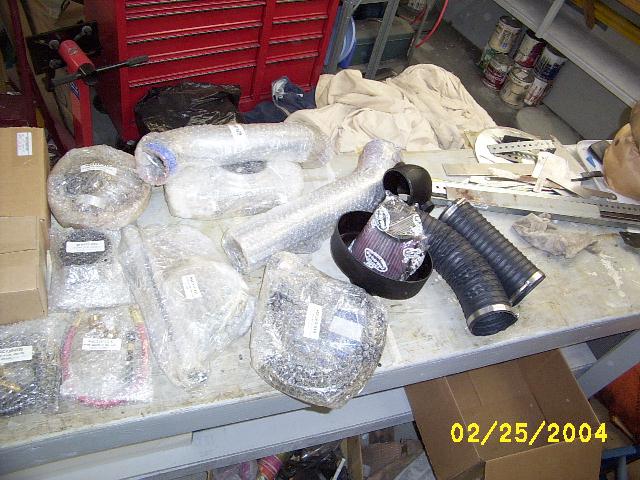
Vortech kit -3 |
|
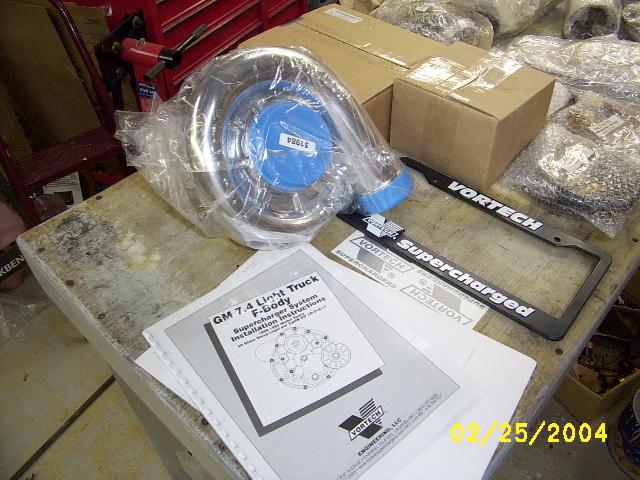
Vortech kit -4 |
|
Aux injector kit. |
|
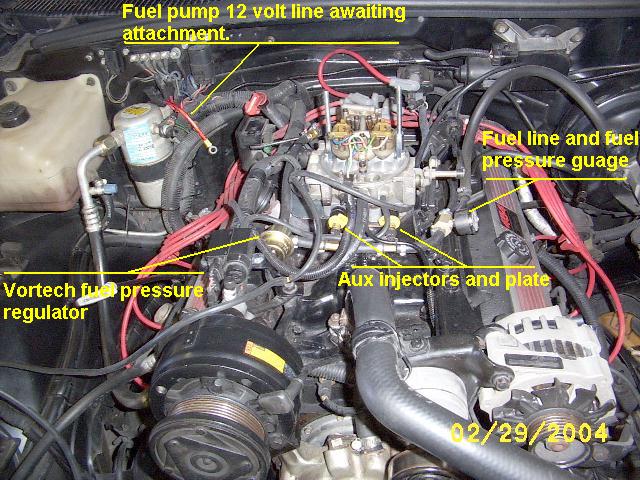
Aux injectors mounted |
|
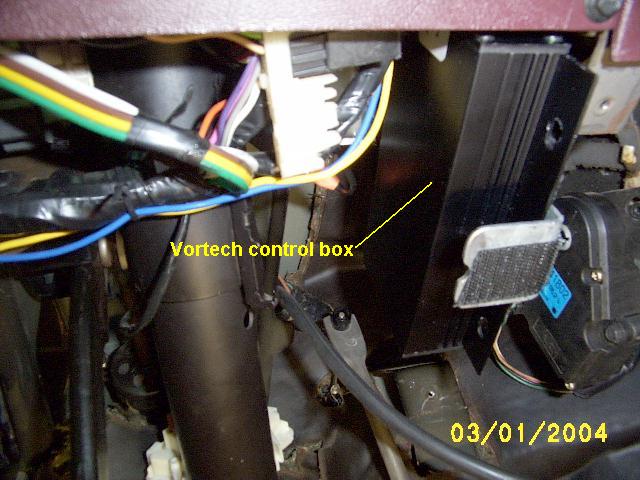
Black box mounted under dash. (right side of the picture. Velcro holds it) |
|
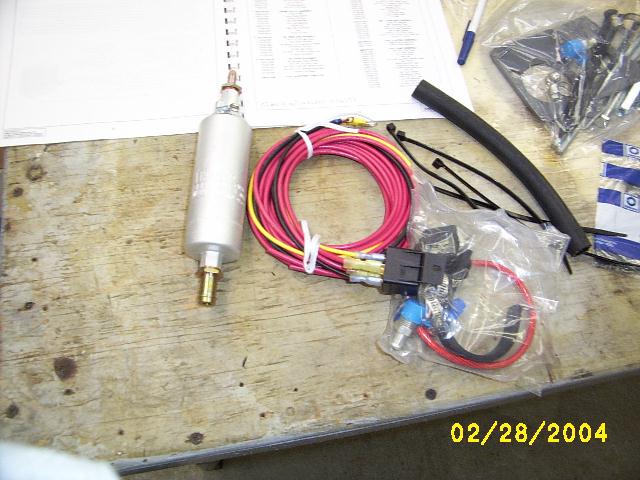
Fuel pump kit. |
|
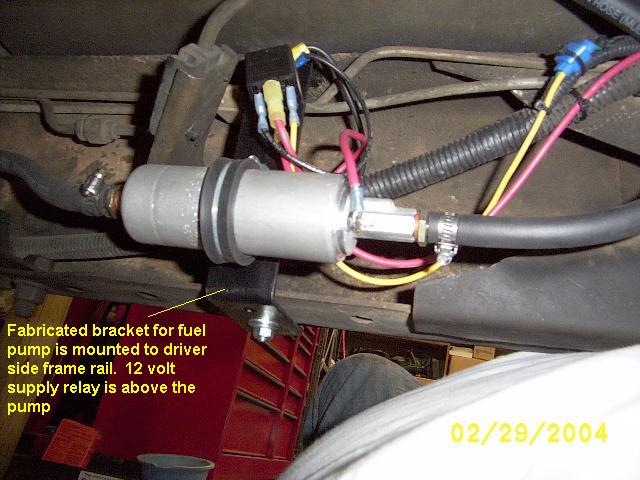
Fuel pump kit showing the pump, relay and mounting bracket (Vortech did not supply the bracket. I fabricated it). |
|
The inline fuel pump is mounted on the driver’s side frame rail. Note the relay mounted above the pump. I fabricated the bracket to hold the pump and relay. |
|
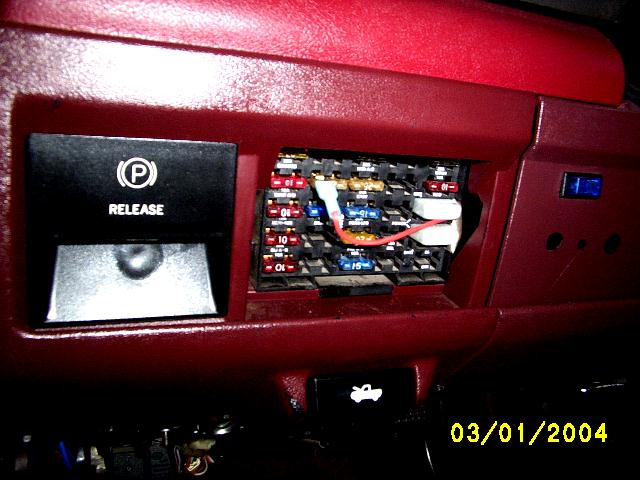
Fuse panel showing the black-box connection. (Red wire). This wire is piggy backed on the 4WD fuse with a small brass adapter. |
|
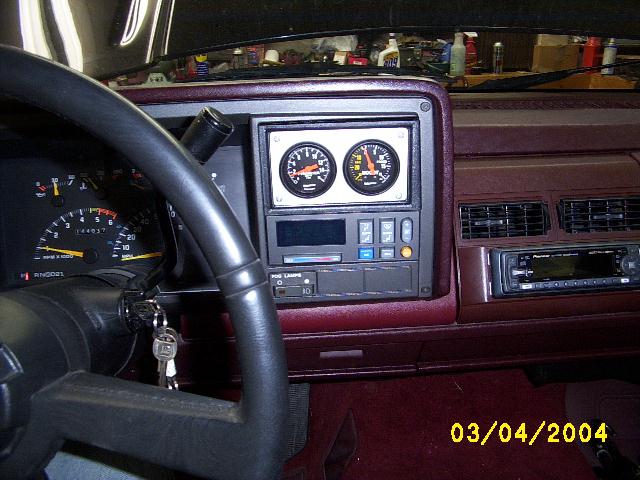
EGT and Boost gauges are mounted in a metal plate that is mounted in the Radio Delete box. |
|
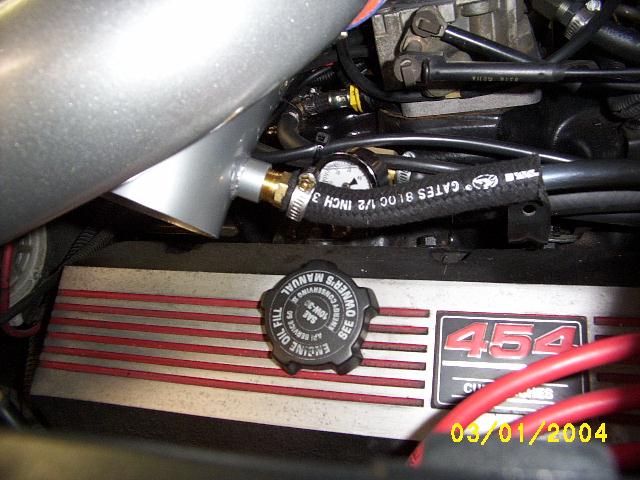
This shows the PCV hose connection from the blower inlet tube to the PCV valve. Also note the fuel pressure guage. Unfortunately it is mostly hidden by the PVC hose. |
|
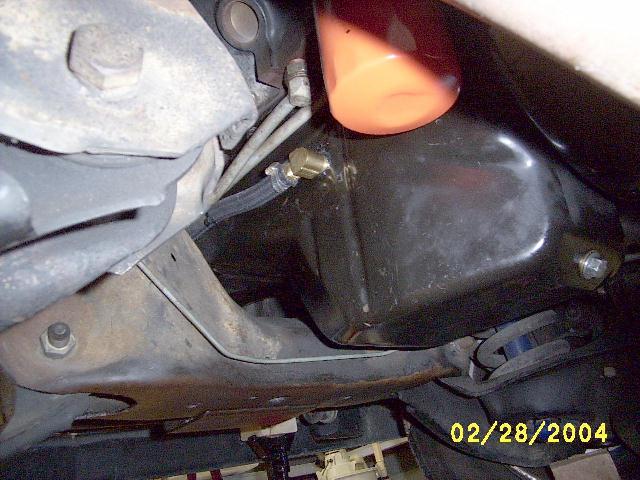
Oil drain line is mounted to the oil pan. This was a very difficult installation. A hole must be drilled, or punched in the pan, then treaded with a ½” NPT tap (not included). |
|
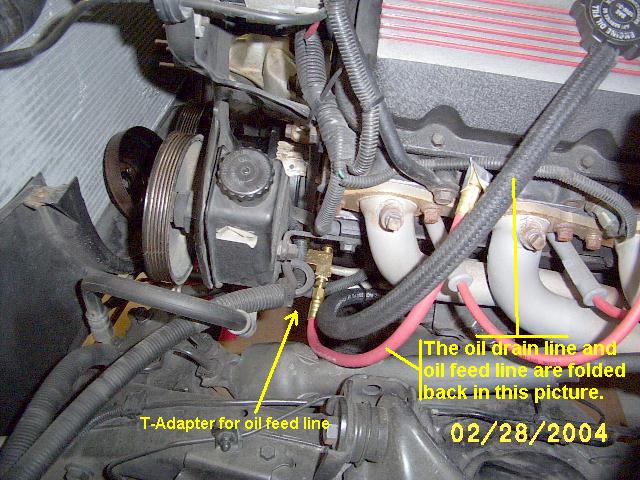
Oil feed line. Note the red hose is folded back toward the engine in this picture. The hose will connect to the supercharger to supply pressurized oil to the bearings. The hose is T’d off the Oil pressure sending port. The oil pressure sender is on the front port of the T (not visible in this picture) under the Power steering pump. This was relatively easy to install. Warning: This is the last you will see of the power steering pump. The supercharger mount and supercharger nearly cover it totally. Access to the power steering pump dipstick is very limited. Also to replace the power steering pump will reqire removal of the supercharger, hoses, and bracketry!!! |
|
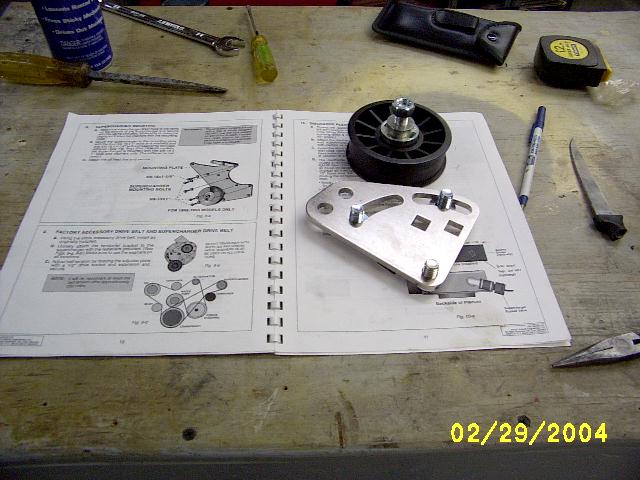
Pulley tensioner bracket. This is a difficult installation. Note that a special thin head bolt is supplied but it can not be used where it was intended unless you have a special thin open-end wrench. I used it for the center pivot point of the bracket and installed a standard head bolt –without washer- behind the pulley… you will see what I mean if you ever install one of these! |
|
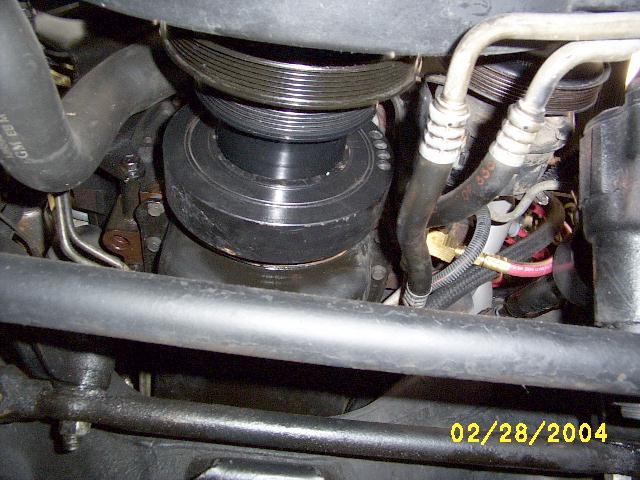
Superecharger crank pulley, mounted to the front of the engine crank pulley with a spacer. (the crank pulley on this engine is a March under drive pulley). The supercharger crank pulley is 7-1/2” diameter. |
|
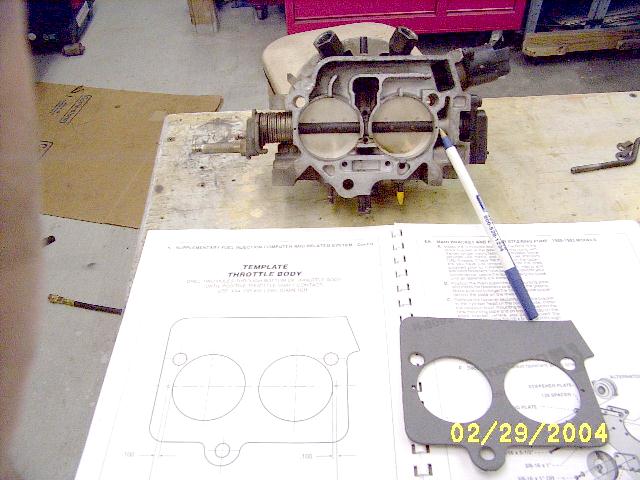
The throttle body must have 2 small 3/64” holes drilled in it for pressure equalization. The pen in the picture is pointing to one of these holes. I drilled 5/64” holes –oops! |
|
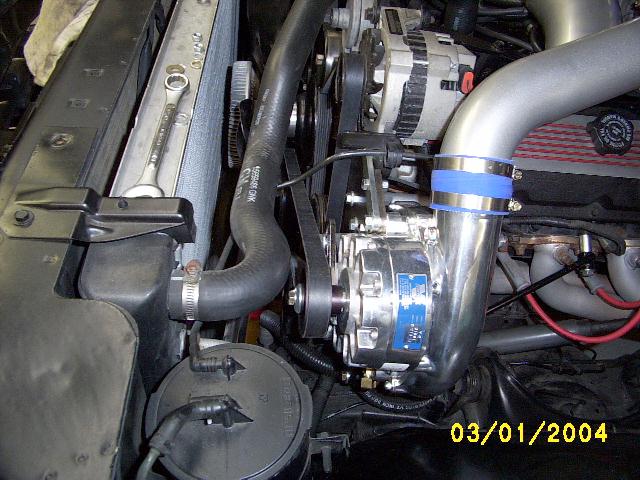
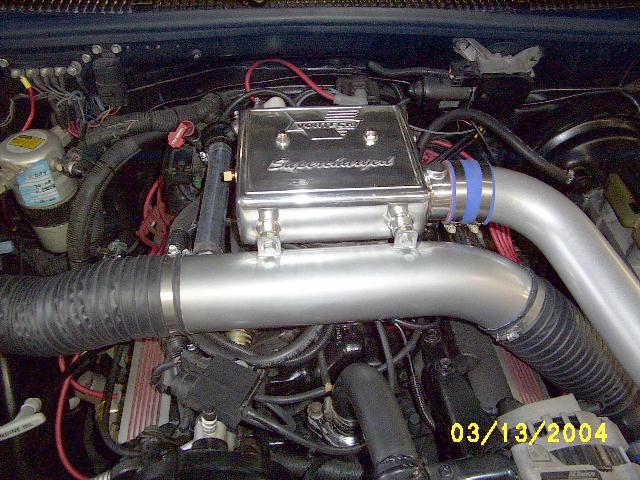
Side view of the supercharger mounted. This shows the drive belt. |
|
Passenger side view of completed installation. Note that the stock airbox-resonator is reused. The end is cut off and a new end is attached. The K&N filter is inside. This makes it difficult to get to the air filter for cleaning. Vortech had the airfilter mount assembly pre riveted. This made it impossible to attach the K&N filter. The rivets had to be drilled out and screws used in their place. |
|
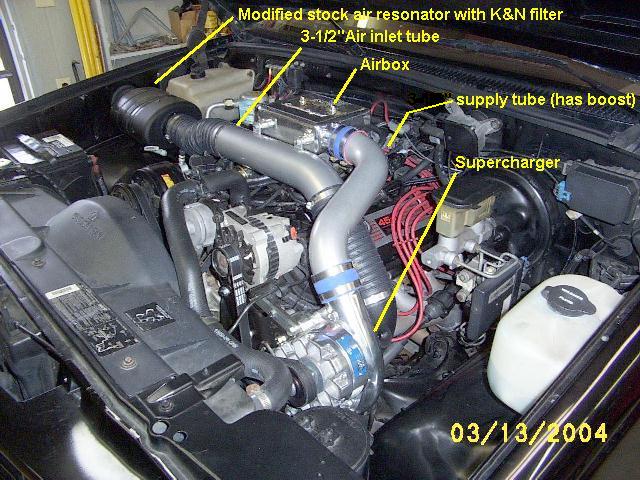
Top view of completed installation. Note the blow off valve immediately to the
left of the airbox. This connects
from the airbox via a 1” hose to the air supply pipe (3-1/2”). The BOV hose was attached to the air supply pipe by a ¾” fitting. The hole had to be drilled and a ¾” NPT tap ($20) used (not supplied) to thread the hold. |
|
SLP 3” stainless steel cat back exhaust awaiting installation. |
|
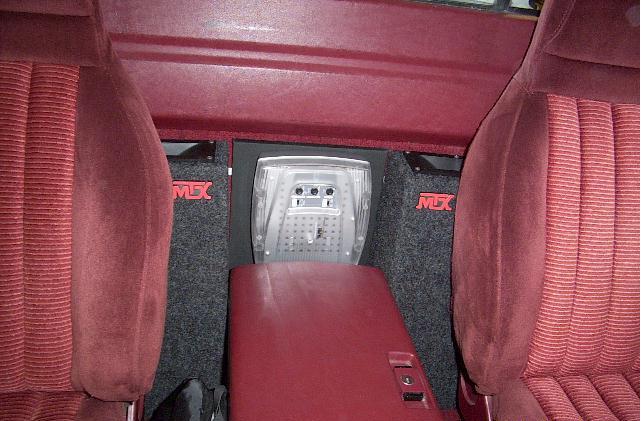
Blaupunkt 200 Watt Amp and MTX Speakers for crusin' tunes :). (Purchased from crutchfield.com) |
|
Text/Picture –Reserved for future use. |


Text TBD.
End … March 2004.