CALTRACS INSTALLATION
Caltracs p/n #3310
http://www.calvertracing.com
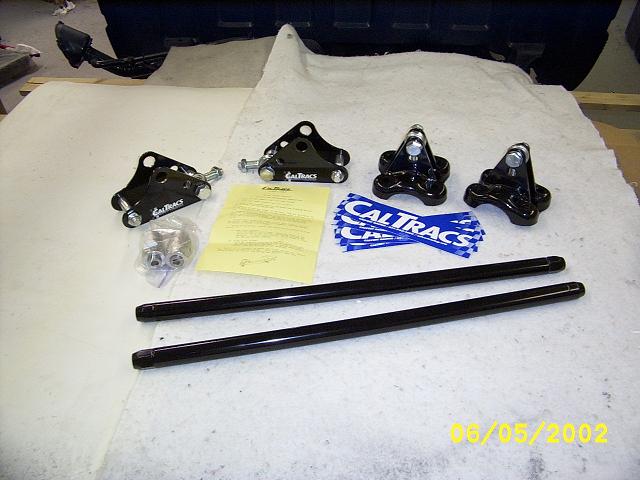
The parts supplied with the Caltracs kit. Parts are powder coated and weigh 30 lbs. total..
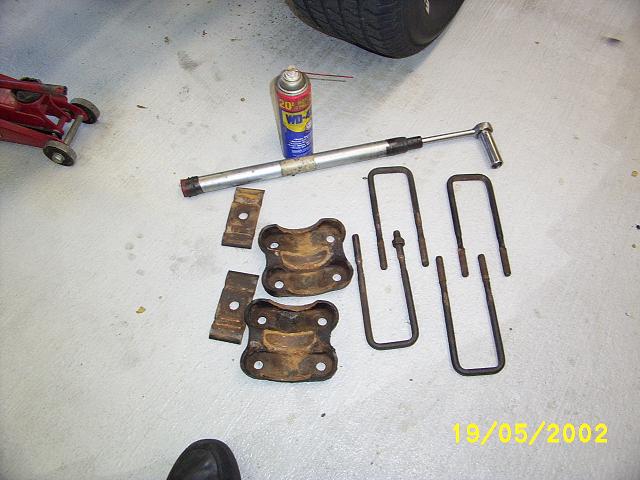
First step. Removal of the u bolts from the truck. Note how rusted the u-bolts are. They are rusted nearly in two. I had to buy new ones. Word of warning. The ones from the dealer are $20 EACH!. I bought new grade 5 bolts of superior quality and with fine threads and double length nuts for $5 each at the local parts house.
These bolts were a real pain to remove. It took lots of WD-40 and a 2-foot pipe extension on my 1/2" ratchet to get them off. (The socket is a 21mm deep well.) I fought them until the last thread of the bolt.
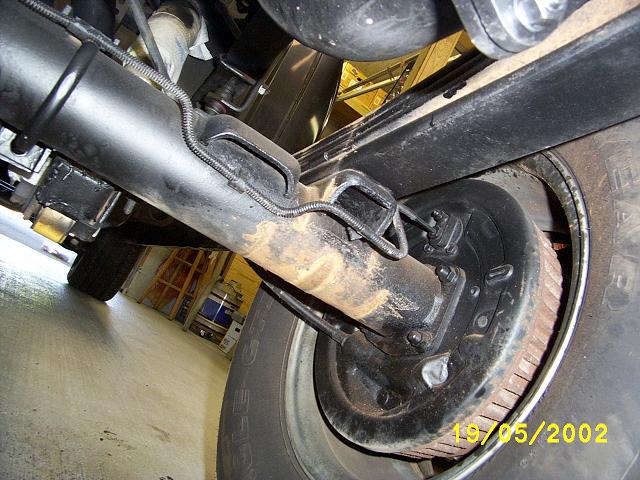
The rear axle housing with the ubolts removed.
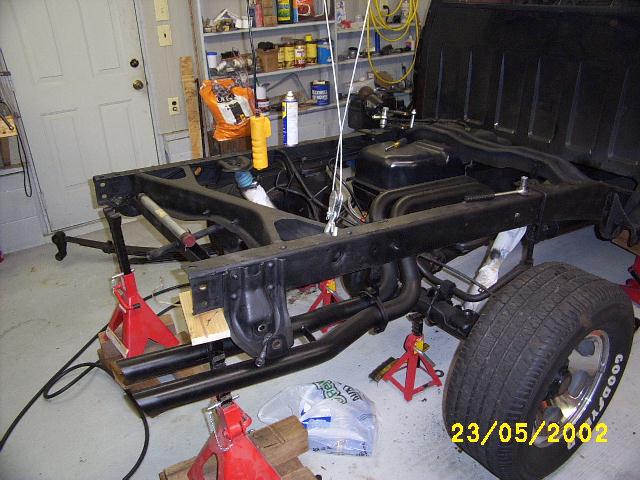
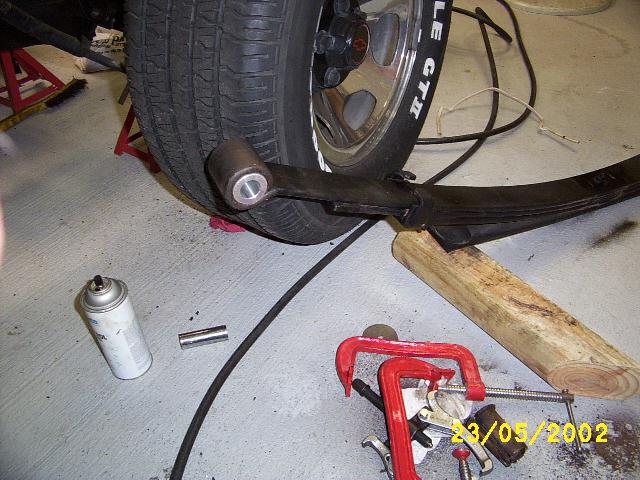
Got her up in the air with the springs off in preparation for the Caltracs install.
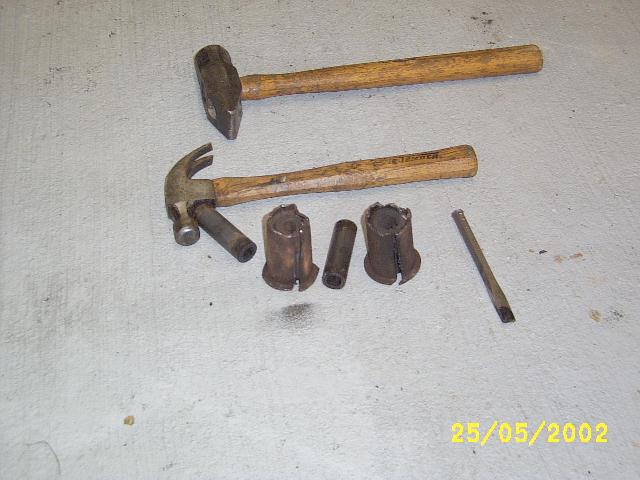
Tools of the trade. Hammer and chisel. The old bushings were very difficult to remove from the front spring eyes.
New Caltracs Aluminum bushing installed.
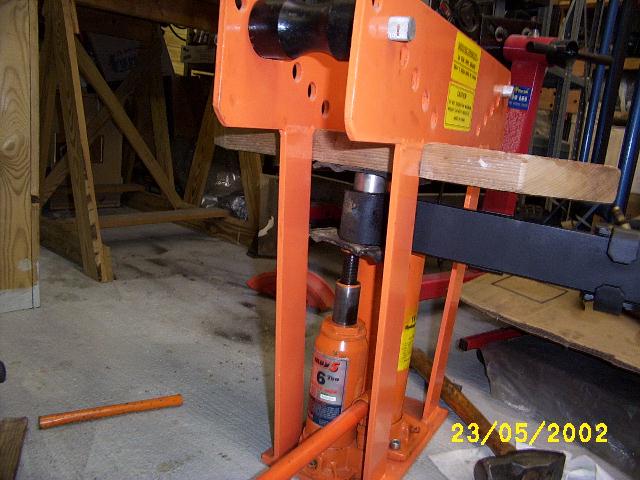
This is the method I used to press in the new Caltracs bushing into the front spring eye. A 2x4 is on top, and a metal plate from the spring mounts is used as a protective surface for the aluminum bushing. I am using a small 6 ton hydraulic jack to press the new bushing into place. The gadget I am using as a press is a pipe bender with a built in 16 ton jack, but there was not enough room to get the bushing and spring between the big jack and the top of the pipe bender frame, so I sat the smaller jack beside of it and pressed away. Worked like a charm.
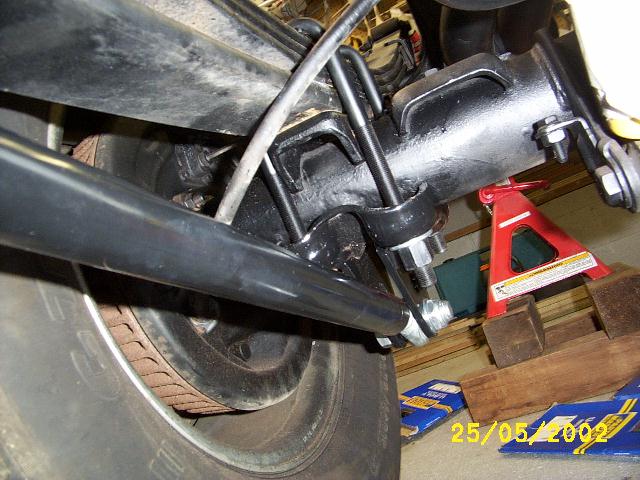
Caltracs installed. Rear view.
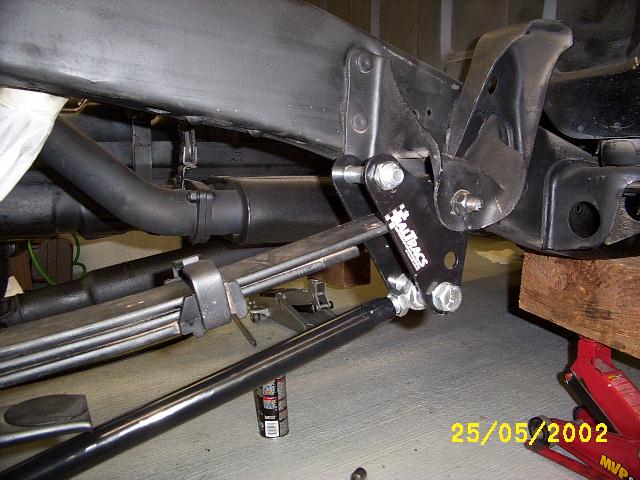
Caltracs installed, front view. Note that the top bolt is not sitting on the spring. The Caltracs rod is adjustable and when tightened , it will pull the bolt down on the top of the spring . This is how you preload.. Not shown in this picture, but I added a piece of 3/4" rubber hose as a sleeve over the top bolt to keep the bolt from banging on the spring when it was adjusted down against it.
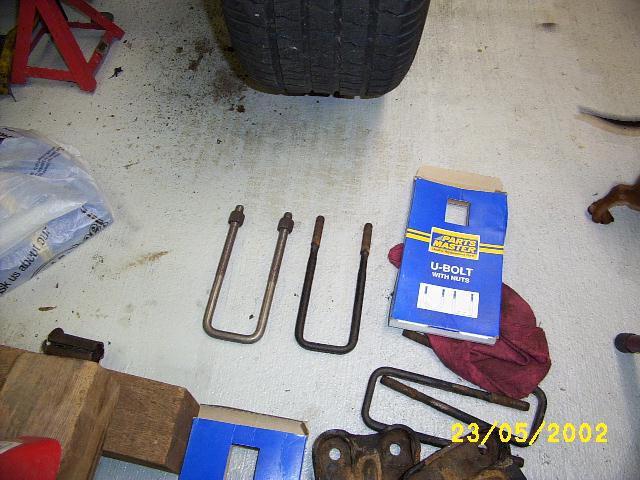
A comparison of the old and new U-Bolts. The old U-Bolt is on the right. Notice how badly it is rusted . It is nearly ruste in-two. To prevent this from happening to the new U-Bolts, I painted the new bolt, but more importantly, I drilled a 3/8" drain hole in the lower axle-U-Bolt mounts that came with the Caltracs. My old rusty mounts are shown at the very bottom of the picture here.