Recognizable Features - Tutorial
Purpose of this tutorial is to illustrate a simple approach to quickly and easily produce a low-fidelity 3D figure of a recognizeable person.
This tutorial makes use of Poser2, a 3D animation product of MetaCreations, as well as PhotoShop (or any other suitable graphics package). As presented, the technique will also work with Poser3.
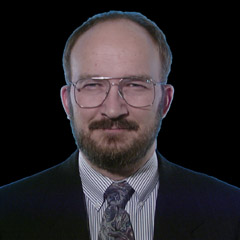
To begin, select a digitized photograph (the image you want to use) on the Poser figure. The photogragh should, of course, be taken from straight ahead of the subject. I chose one of myself because it was available. Note: this image has already been prepared: the background is video black, making it very easy to select for cut/paste operations in Photoshop.
|  |
Since this is a suit-and-tie subject, it's convenient to use the Poser 2 Figure Type: "Male Business Detailed." There's no need to open Poser right now. Not yet. | 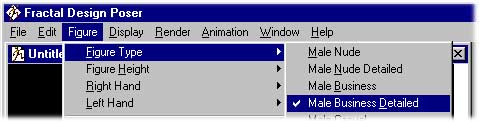 |
First, using PhotoShop, or similar-capability (one that uses layers) graphics package, open the texture map (or template) that corresponds to the Poser figure. Since this is Poser 2, an appropriate texture map is the "male business texture," as shown here. Save the file immediately, with a different name, so as not to damage the original. |  |
Blow up the texture map so you can inspect the fine detail. I've expanded to 200%). Then, bring in the desired photograph (on a separate layer (or two)) and scale it carefully so that the spacings between the eyes and the mouth closely match the dimensions on the texture map. I work with two copies in separate layers so that I can make mistakes and arrive at final faster and more accurately. | 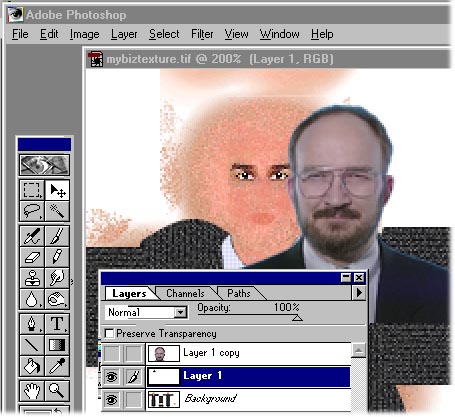 |
Then, position the photograph exactly over the eyes (temporarily lower the opacity to see what you're doing: a helpful technique while scaling, also). Fill in any necessary holes and position elements of the photo as necessary to align with the texture map. Then, delete the duplicate (insurance) layer, and flatten the image (combine into one layer). Then, save the texture file. It's ready to use inside Poser. | 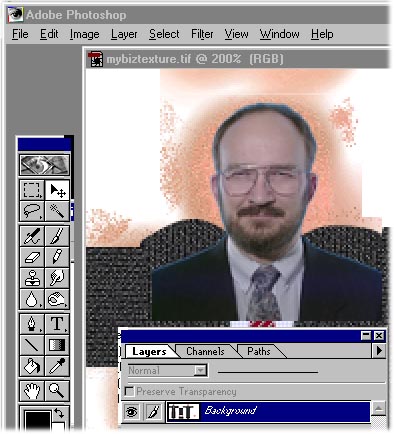 |
Open Poser and set up the figure. I've lowered the hands and arms (not seen yet). Then apply the texture map: |  |
Render the image within Poser.
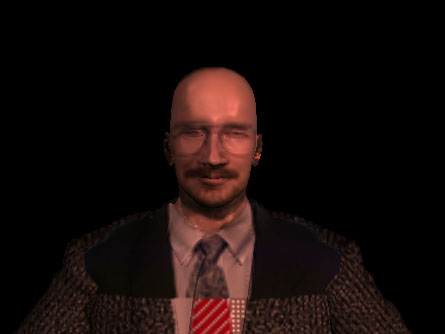
For comparison, two different textures:
First, with the new texture. ( I see that I painted the ears). Although far from being perfect, and still needing improvement, the figure is recognizable. The presence of spectacles in the photo contributes a spectral quality, though, to the rendering.
|  |
For comparison: rendered using the unaltered texture. | 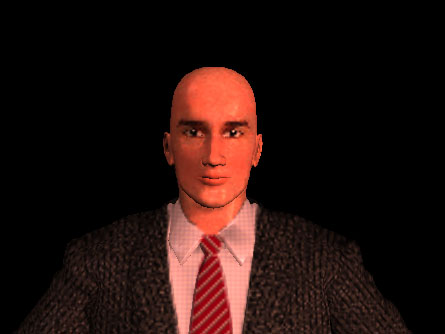 |