9/7/98; 7.0 hrs; installed horiz and vertical stab; primed and installed
tailwheel.
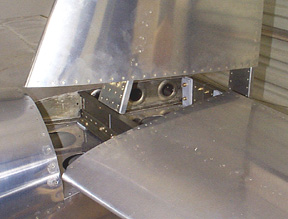
A lot of time was spent getting the surfaces straight and square. Shims
were necessary to get everything lined up to my satisfaction. I was able to get all the
holes drilled without a right-angle drill.
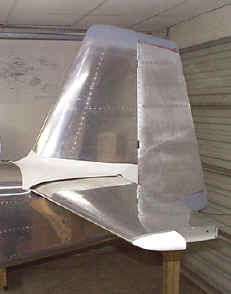
I was curious to see how badly the emp fairing would fit right out of the
crate. Actually, the fit was not all that bad!
9/8/98; 1.5 hrs; installed elevators; finished aft elevator pushrod;
drilled elevator horns for pushrod.
9/9/98; 2.0 hrs; installed rudder cables and fabricated cable fairings.
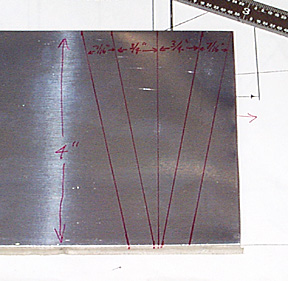
Here are the steps involved in fabricating some simple fairings for the
rudder cables. Find a scrap piece of 0.20" stock and cut it to four inches. Then
layout the lines as shown. Dimensions left to right are 7/16", 3/4", 3/4",
and 7/16".
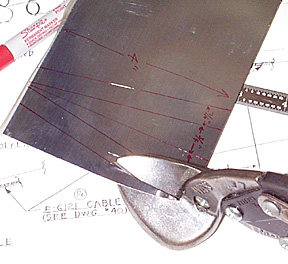
Trim the stock on the outside lines.
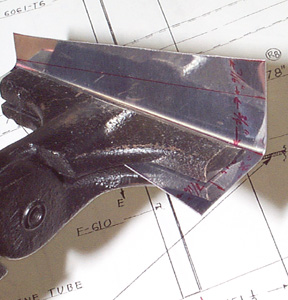
Hand seamer is used to bend a 90 on the center line.
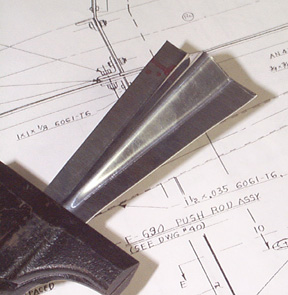
Bend 45 angles on the outside lines and flatten the nose of the fairing.
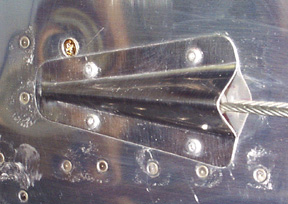
Here is the finished ten minute and free fairing after the
corners are dressed and it is riveted to the fuse.
By the way, it is much easier to install the rudder cables before
the aft deck is installed!
9/14/98; 1.5 hrs; fabricated and installed rudder and elevator control
stops.
9/15/98; 7.0 hrs; disassembled cabin frame; deburred, countersunk and
primed cabin frame; primed a bunch of other stuff; riveted and installed cabin frame;
drilled rear cabin skin to fuse.
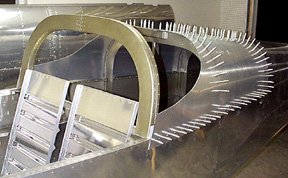
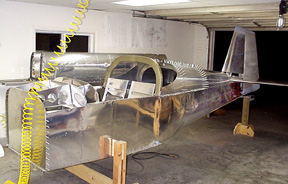
One of those rare days when everything goes right, no parts are
trashed (as far as I know...), the squirrels play outside the shop.....a very
productive seven hours.
This thing is looking like an RV6!
9/16/98; 3.0 hrs; trimmed, dimpled, and clecoed rear cabin skin; painted
and installed engine mount.
Back to Fuse, page seven
Forward to Fuse, page nine
Back to RV6 Home Page
Please submit all questions and comments to sbuc@hiwaay.net
|
